

roadster upgrades
Showing 1–24 of 70 results
-
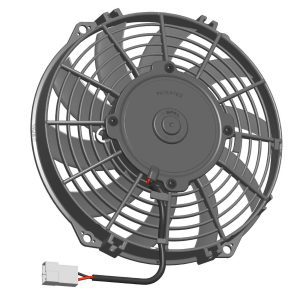
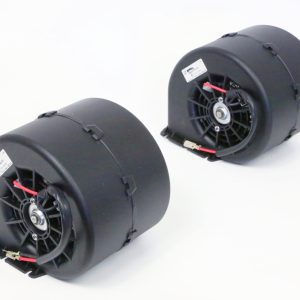
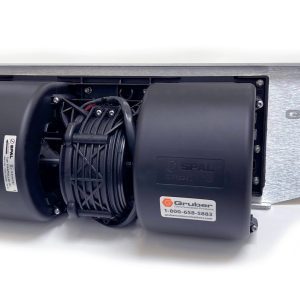
Condenser Fan
$79.45 Add to cart -
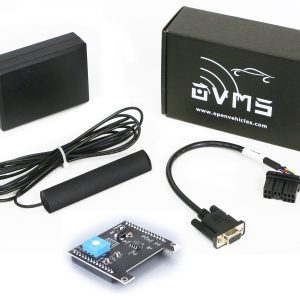
OVMS Unit
$74.95 – $329.95 Select options This product has multiple variants. The options may be chosen on the product page -
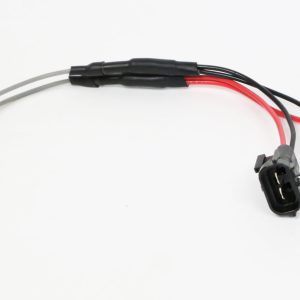
Fan Adapter Cable
$37.50 Add to cart -
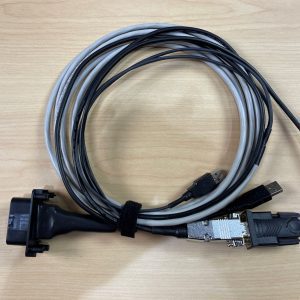
GPS Corruption Cable
$127.50 Add to cart -
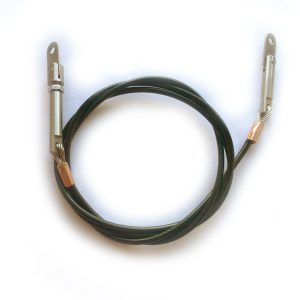
Soft Top Cable
$159.95 Add to cart -
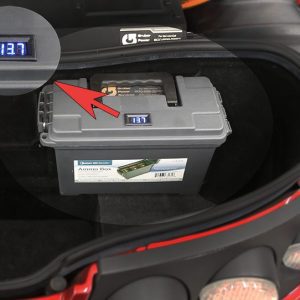
12 Volt Battery Relocation Kit
$245.00 – $745.00 Select options This product has multiple variants. The options may be chosen on the product page -

Decal Set
$94.50 Add to cart -
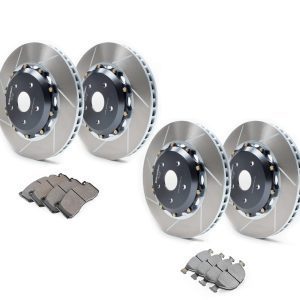
High Performance Brake Kit
$2,249.00 Add to cart -
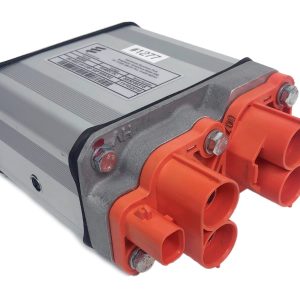
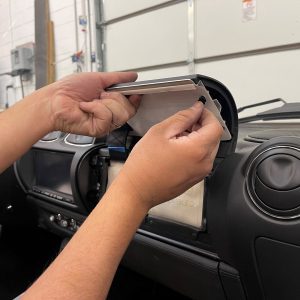
HVAC Controller 2.X
$495.00 – $1,395.00 Select options This product has multiple variants. The options may be chosen on the product page -
Roadster Passenger Airbag Clips
$19.95 Add to cart -
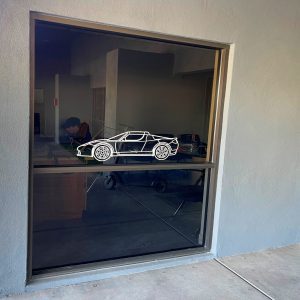
Roadster Window Decal
$92.95 Add to cart -
Charge Port Socket Cover
$25.00 Add to cart -
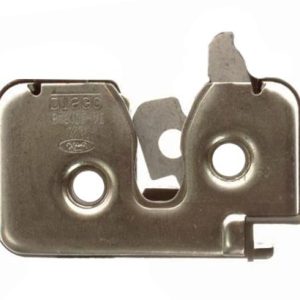
Trunk and Hood Release Latch
$128.95 Add to cart -
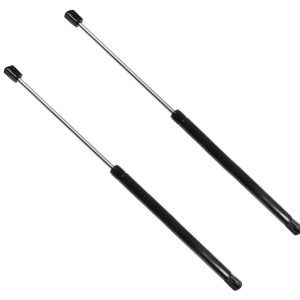
Trunk Lid Struts
$38.95 Add to cart -
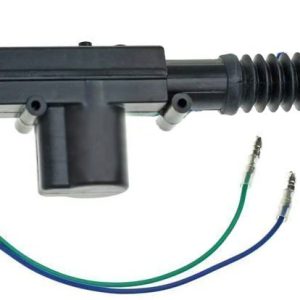
Trunk Release Actuator
$28.95 Add to cart -
Condenser Assembly
$1,654.30 Add to cart -
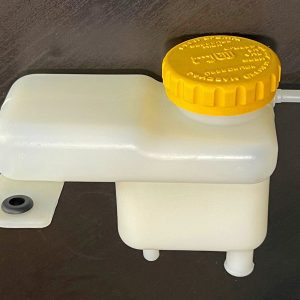
Main Battery Coolant Tank
$199.45 Add to cart -
PEM Cooling Fan (1.5)
$300.00 Add to cart -
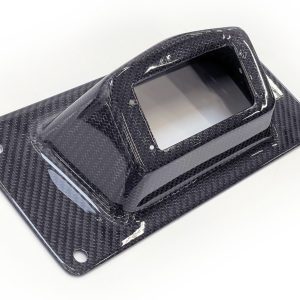
PEM Cooling Fan Shroud (1.5)
$595.00 Add to cart -
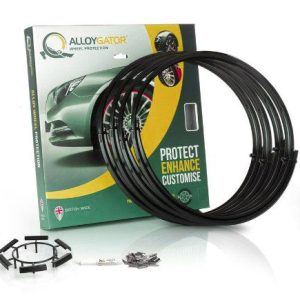
Wheel Protector Installation
$395.00 Add to cart -
Headlight – Stage 1
$615.00 Add to cart -
Headlight – Stage 2
$720.00 Add to cart -
Headlight – Stage 3
$1,295.00 Add to cart -
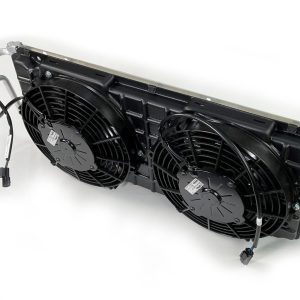
PEM Cooling Fan Assy (2.x)
$564.00 Add to cart