
Roadster
Showing 1–24 of 69 results
-

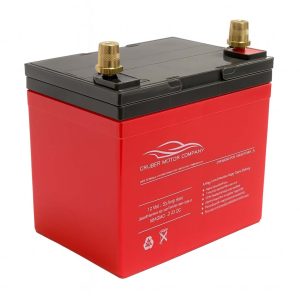
12 Volt Model S Battery
$185.76 Select options This product has multiple variants. The options may be chosen on the product page -
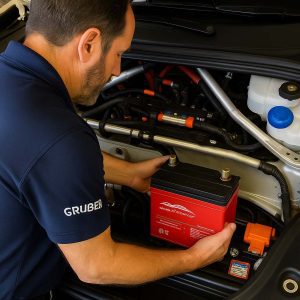
12 Volt Model S Battery Installation
$292.26 Add to cart -
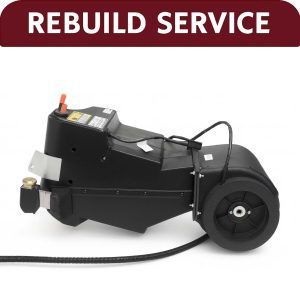
HVAC Assembly Unit Rebuild – 6002801
$3,750.00 Add to cart -
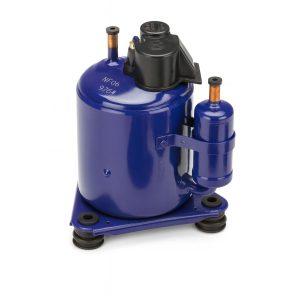
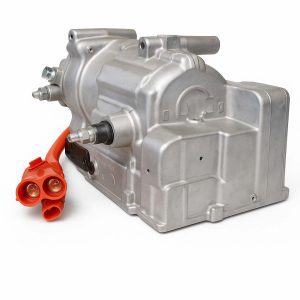
AC Compressor – 1.5 Series
$2,124.00 Add to cart -
AC Compressor – 2.X Series
$3,288.03 Add to cart -
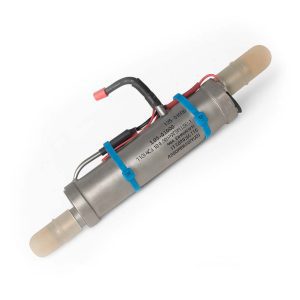
Battery Coolant Heater – 1.5 Series
$2,737.28 Add to cart -
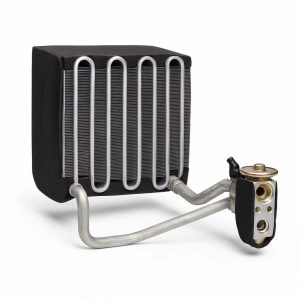
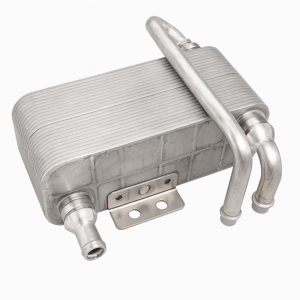
HVAC Evaporator – 77363895
$687.00 Add to cart -
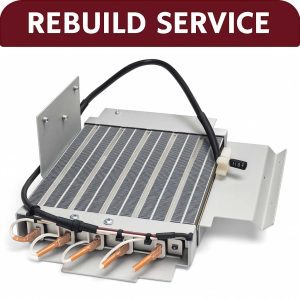
PTC Cabin Heater Repair – 6001479 & 1014547-01-A
$545.00 Add to cart -
HVAC Evaporator / Chiller
$195.00 Add to cart -
Battery Coolant Heater – 2.x Series
$796.35 Add to cart -
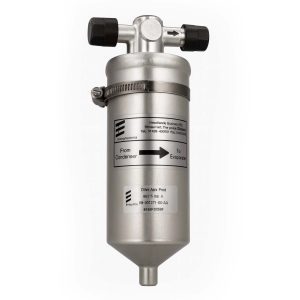
HVAC Drier
$266.15 Add to cart -
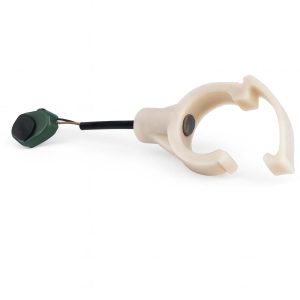
Glycol Temperature Sensor – 6003198
$311.18 Add to cart -
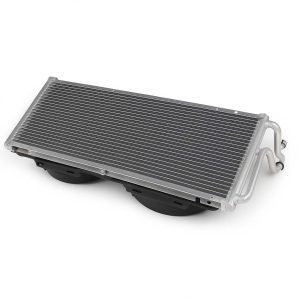
Condenser Assembly
$1,654.30 Add to cart -
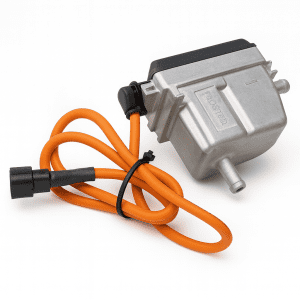
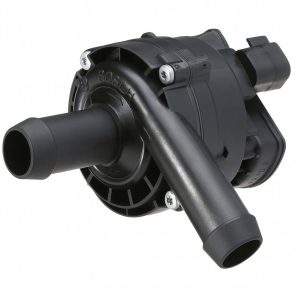
Coolant Pump – 2.X Series
$169.98 Add to cart -
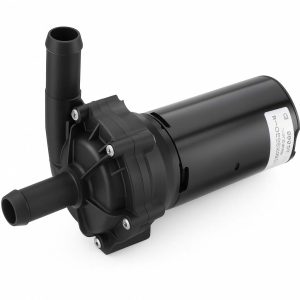
Coolant Pump – 1.5 Series
$372.50 Add to cart -
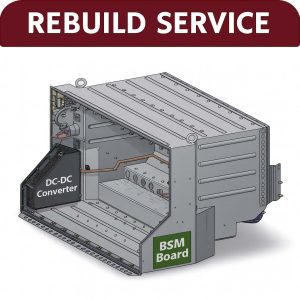
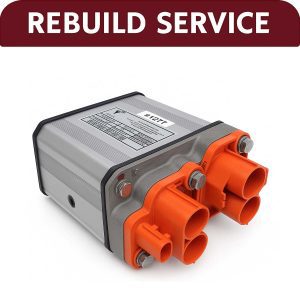
BSM (Battery Safety Module) Rebuild and Repair
$495.00 Add to cart -
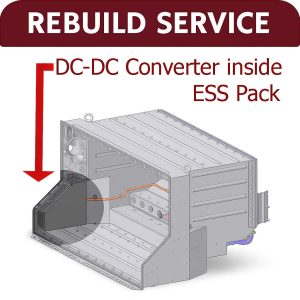
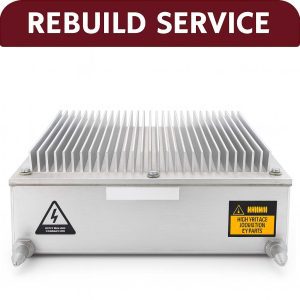
APS Unit – DC-DC Converter Rebuild and Repair
$2,485.00 Add to cart -
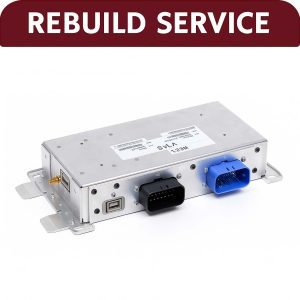
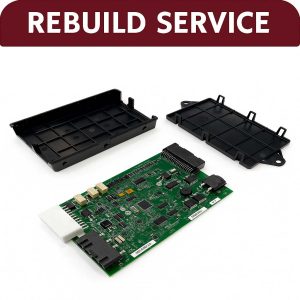
Vehicle Management System (VMS) Module Rebuild and Repair
$1,850.00 Add to cart -
HVAC Controller 2.X Series
Price range: $795.00 through $1,395.00 Select options This product has multiple variants. The options may be chosen on the product page -
HVAC ECU
$565.00 Add to cart -
HVAC Controller – 1.5 Series
Price range: $1,295.00 through $2,195.00 Select options This product has multiple variants. The options may be chosen on the product page -
Switchpack Rebuild and Repair – 1.5 Series
$1,335.00 Add to cart -
Switchpack Rebuild and Repair – 2.X Series
$1,335.00 Add to cart -
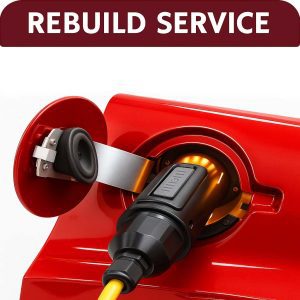
Charge Port Rebuild
$987.00 Add to cart