
GPS
Showing all 23 results
-

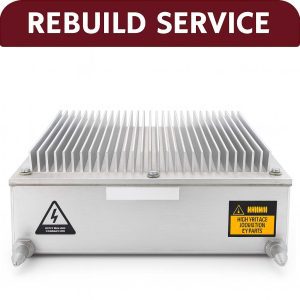
HVAC Controller – 1.5 Series
Price range: $1,295.00 through $2,195.00 Select options This product has multiple variants. The options may be chosen on the product page -
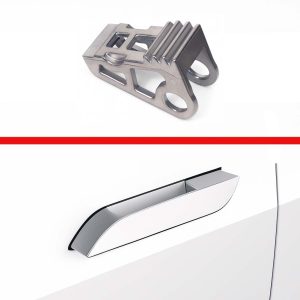
Door Handle Gear Pawl
$24.95 Add to cart -
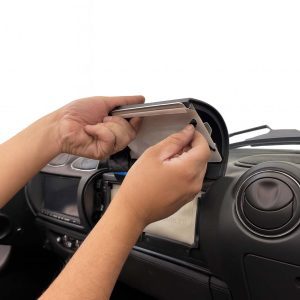
Door Handle Kit DIY
$174.50 Add to cart -
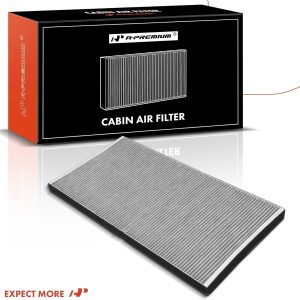
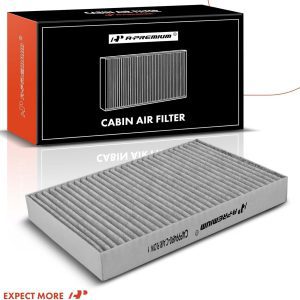
Cabin Filter w/Activated Carbon 2016-2023 Located Under Hood Replace# 1059333
$84.95 Add to cart -
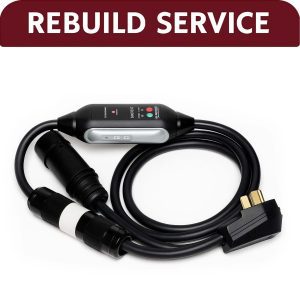
UMC Charger Repair / Upgrade
Price range: $185.00 through $695.00 Select options This product has multiple variants. The options may be chosen on the product page -
Cabin Filter-2012 2013 2014 2015 2016 – Replace 103512500A
$24.95 Add to cart -
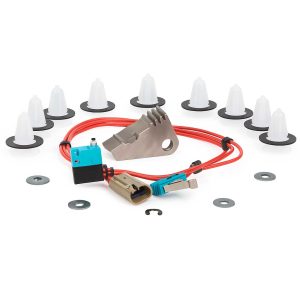
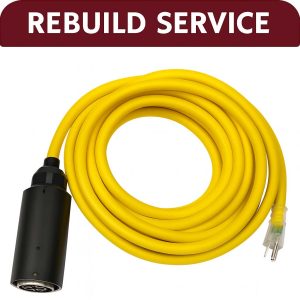
Yellow Charge Cable Rebuild
$299.99 Add to cart -
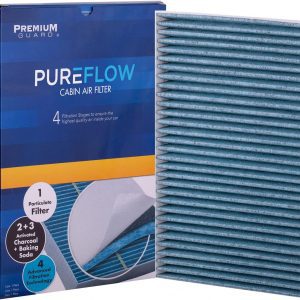
Cabin Filter-2016 2021 – Replace PC99476X
$24.95 Add to cart -
Yellow Charge Cable Repair
$165.00 Add to cart -
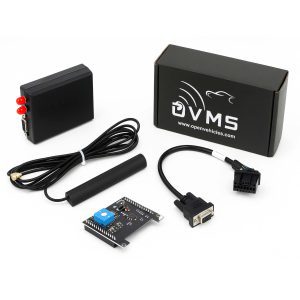
OVMS Unit
Price range: $147.48 through $728.41 Select options This product has multiple variants. The options may be chosen on the product page -
GPS Firmware Update
$550.00 Add to cart -
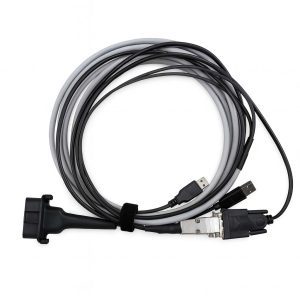
GPS Corruption Cable
$138.35 Add to cart -
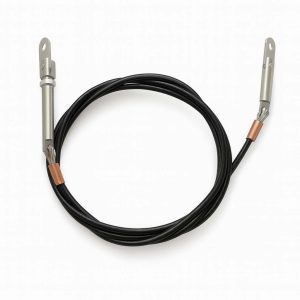
Soft Top Cable
$159.95 Add to cart -
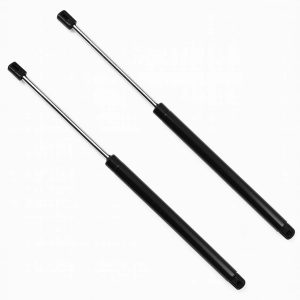
Trunk Lid Struts
$57.68 Add to cart -
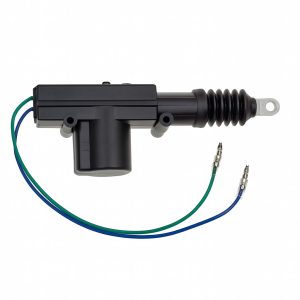
Trunk Release Actuator
$28.95 Add to cart -
PEM Fan Adapter Cable
$46.83 Add to cart -
Decal Set
$189.45 Add to cart -
Roadster Passenger Airbag Clips
$25.32 Add to cart -
Roadster Window Decal
$92.95 Add to cart -
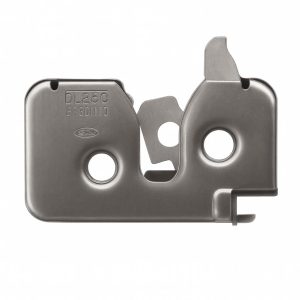
Trunk and Hood Release Latch
$157.45 Read more -
Wheel Protector Installation
$395.00 Add to cart -
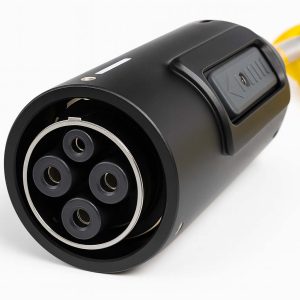
Tesla NACS to J1772 Adapter
$40.32 Add to cart -
4G LTE Upgrade
$154.50 Read more