
roadster electronics
Showing 1–24 of 35 results
-

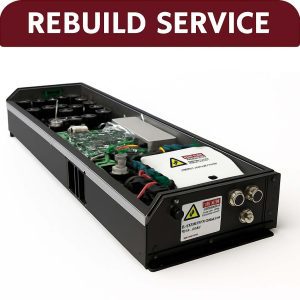
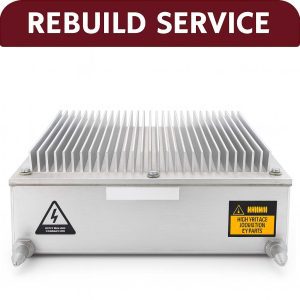
PEM – Power Electronics Module Rebuild and Repair – 2.x Series
$6,504.87 Add to cart -
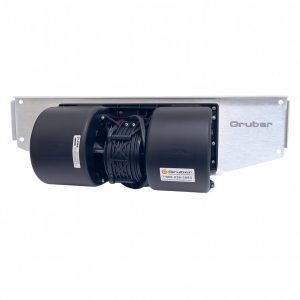
PEM Cooling Fan Assy (2.x)
$564.00 Add to cart -
PEM – Power Electronics Module Rebuild and Repair – 1.5 Series
$8,143.22 Add to cart -
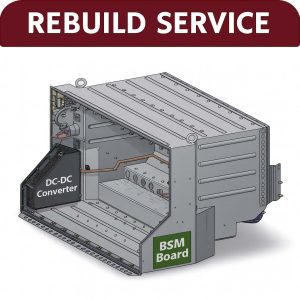
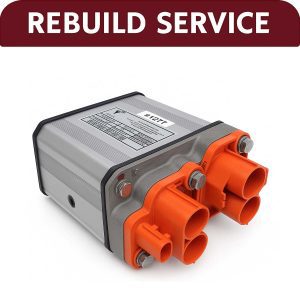
BSM (Battery Safety Module) Rebuild and Repair
$495.00 Add to cart -
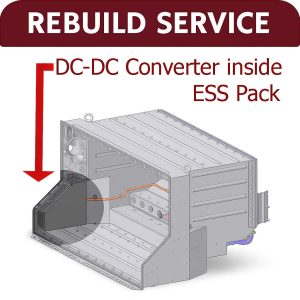
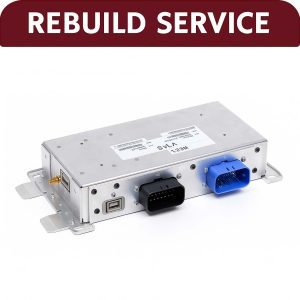
APS Unit – DC-DC Converter Rebuild and Repair
$2,485.00 Add to cart -
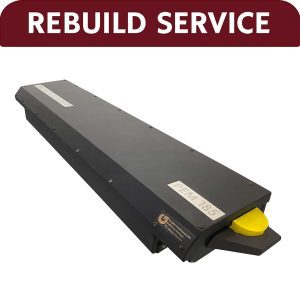
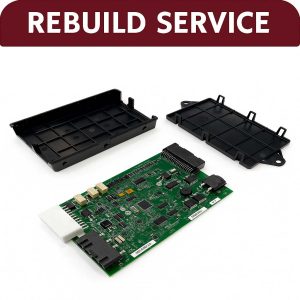
Vehicle Management System (VMS) Module Rebuild and Repair
$1,850.00 Add to cart -
HVAC Controller 2.X Series
Price range: $795.00 through $1,395.00 Select options This product has multiple variants. The options may be chosen on the product page -
HVAC ECU
$565.00 Add to cart -
HVAC Controller – 1.5 Series
Price range: $1,295.00 through $2,195.00 Select options This product has multiple variants. The options may be chosen on the product page -
Switchpack Rebuild and Repair – 1.5 Series
$1,335.00 Add to cart -
Switchpack Rebuild and Repair – 2.X Series
$1,335.00 Add to cart -
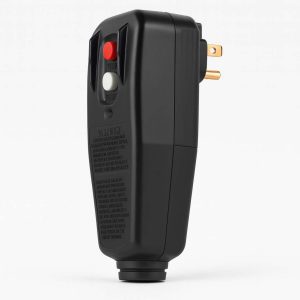
Yellow Charge Cable AC Plug
$46.15 Add to cart -
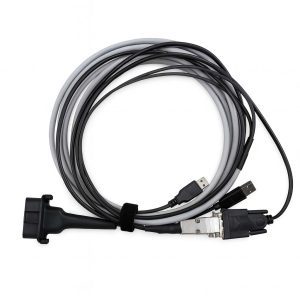
GPS Firmware Update
$550.00 Add to cart -
GPS Corruption Cable
$138.35 Add to cart -
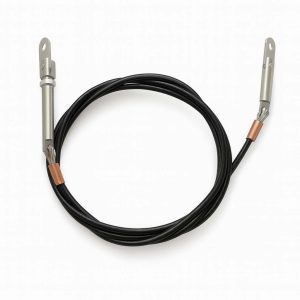
Soft Top Cable
$159.95 Add to cart -
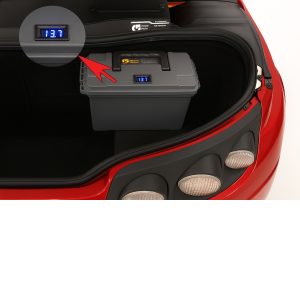
12 Volt Battery Relocation Kit
Price range: $245.00 through $745.00 Select options This product has multiple variants. The options may be chosen on the product page -
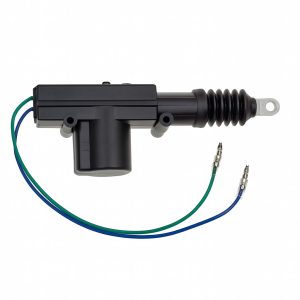
Trunk Release Actuator
$28.95 Add to cart -
PEM Fan Adapter Cable
$46.83 Add to cart -
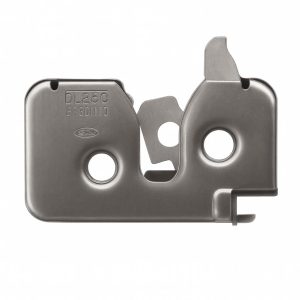
Trunk and Hood Release Latch
$157.45 Read more -
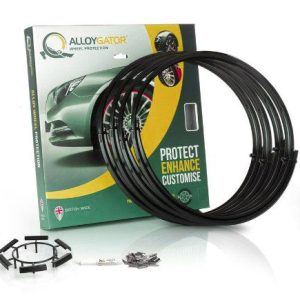
Wheel Protector Installation
$395.00 Add to cart -
Headlight – Stage 1
$615.00 Add to cart -
Headlight – Stage 2
$720.00 Add to cart -
Headlight – Stage 3
$1,295.00 Add to cart -
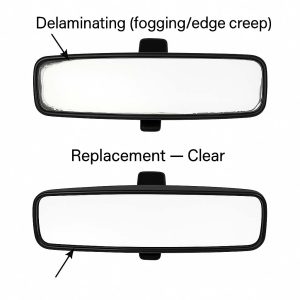
Roadster Rear View Mirror
$81.43 Add to cart