


Headlight – Adjust – North America
FRT No: 17400000
North America (SAE)
- Locate the headlight adjuster.

- Adjust the headlight so that the distance between the ground and the top right part of the beam on the wall is 27.5 in (698 mm).


We are always honored when an esteemed roadster class like this first
Learn More →
1.5 Tesla Roadster Touchscreen User Manual 1.5 Tesla Roadster Touchscreen User
Learn More →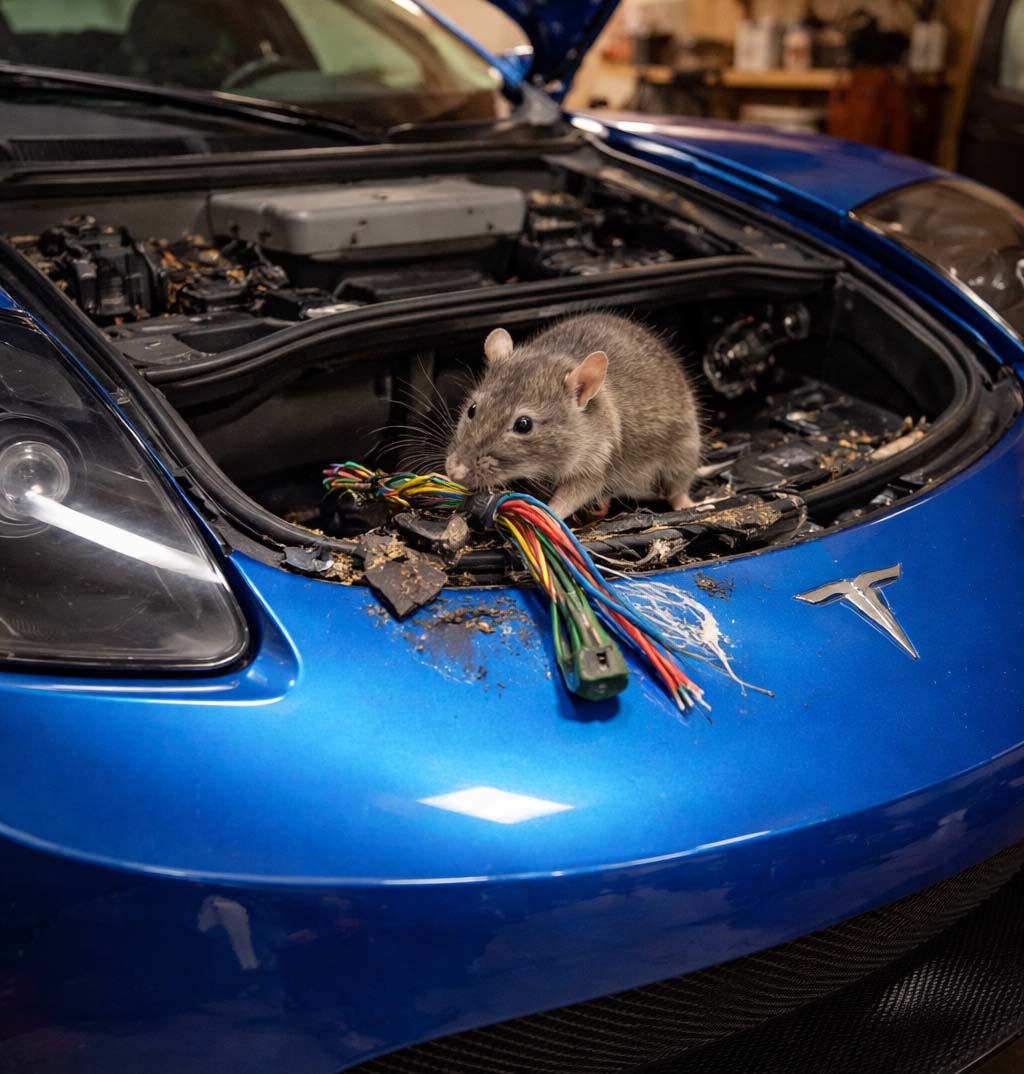
In this Newsletter, we discuss Rodent damage in Tesla Roadsters, what causes
Learn More →

