

Roadsters Are Aging
Tesla Roadsters are aging, going on 12 years old, and new parts, component, and firmware issues are cropping up. None of this was of course anticipated, or Tesla would have altered the design, or used different parts, materials, etc. There is no indication planned obsolescence was built into the Roadster, and certain parts are just failing from use, and age.
Despite Tesla being an under-capitalized car manufacturer during the early years, all indications are no expense was spared to create a fine product, that even back then, was believed would become a collectible some day. Any well made vehicle, properly maintained, and repaired, can last indefinitely. What we will explore in this article are new failure points now revealing themselves, as this first article is surviving as it ages.
PEM Motor Block Deterioration
The annual preventive PEM maintenance is the biggest reason this part is starting to fail. Made from the same material found in electrical panels, ABS plastic, which provides an insulating connecting point for high current and high voltage wiring, use and age are taking their tool. Electrical panels installed at the service entrance of homes or businesses, are installed once, and not touched for decades.

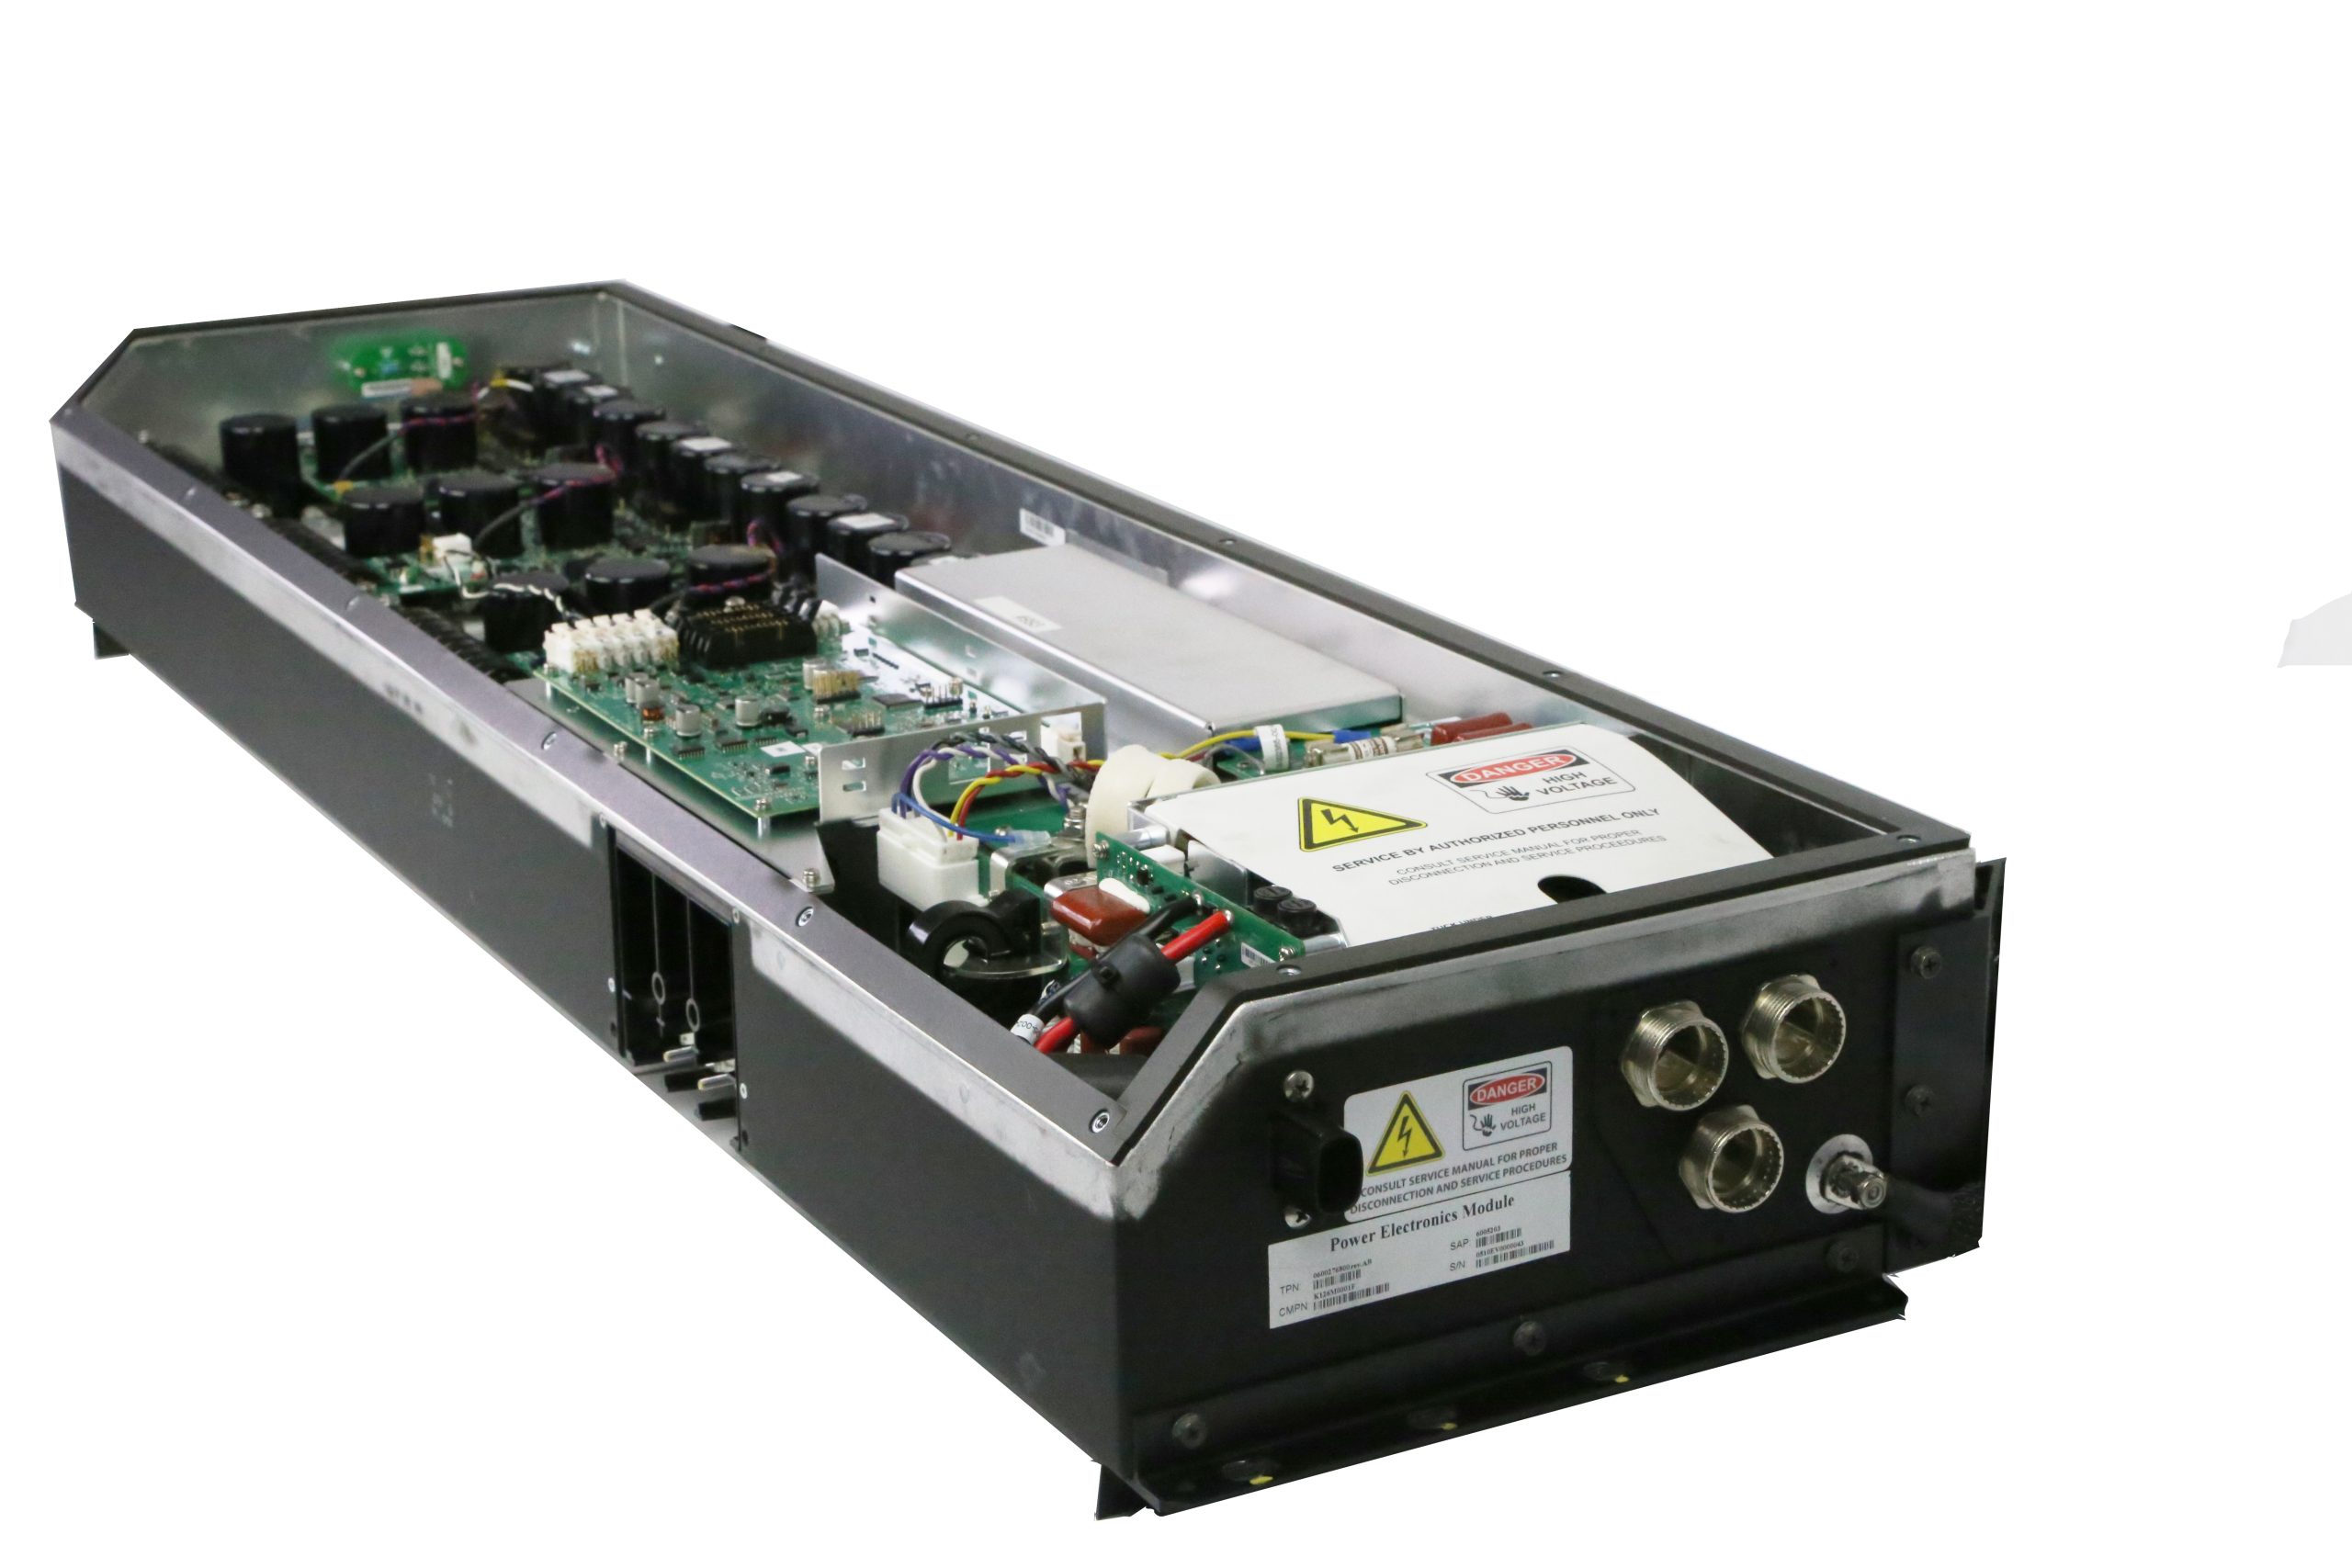
In a Roadster PEM, the same type of black ABS plastic insulating blocks are used to feed high amperage current and voltage to the drive motor large connecting cables. But unlike a home electrical circuit breaker panel, which once installed is undisturbed, the PEM high voltage/current connector blocks, both DC Input and Drive Motor Output blocks are repeatedly disconnected and reconnected during yearly annual preventive maintenance, when the PEM is removed from the car.
Interestingly, according to Martin Eberhardt, the frequent preventive maintenance and PEM cleaning would have been reduced or avoided had there been more time to meet the original PEM cooling design objective. Those non-functional scoops in both the rear quarter panels were originally supposed to be part of a passive PEM cooling system, augmented by a cooling fan. Time constraints and pressure to get a product to market created a design compromise, which ended up being only the 12 volt PEM/Drive Motor fan cooling system placed low in the rear.
The placement of this powerful fan system to ground level, essentially turns this cooling system into a vaccum cleaner, which sucks up dust and road debris, and then sending it through a plenum to the bottom of the PEM IGBT transistor heat sinks is why the yearly PEM cleaning is so important.
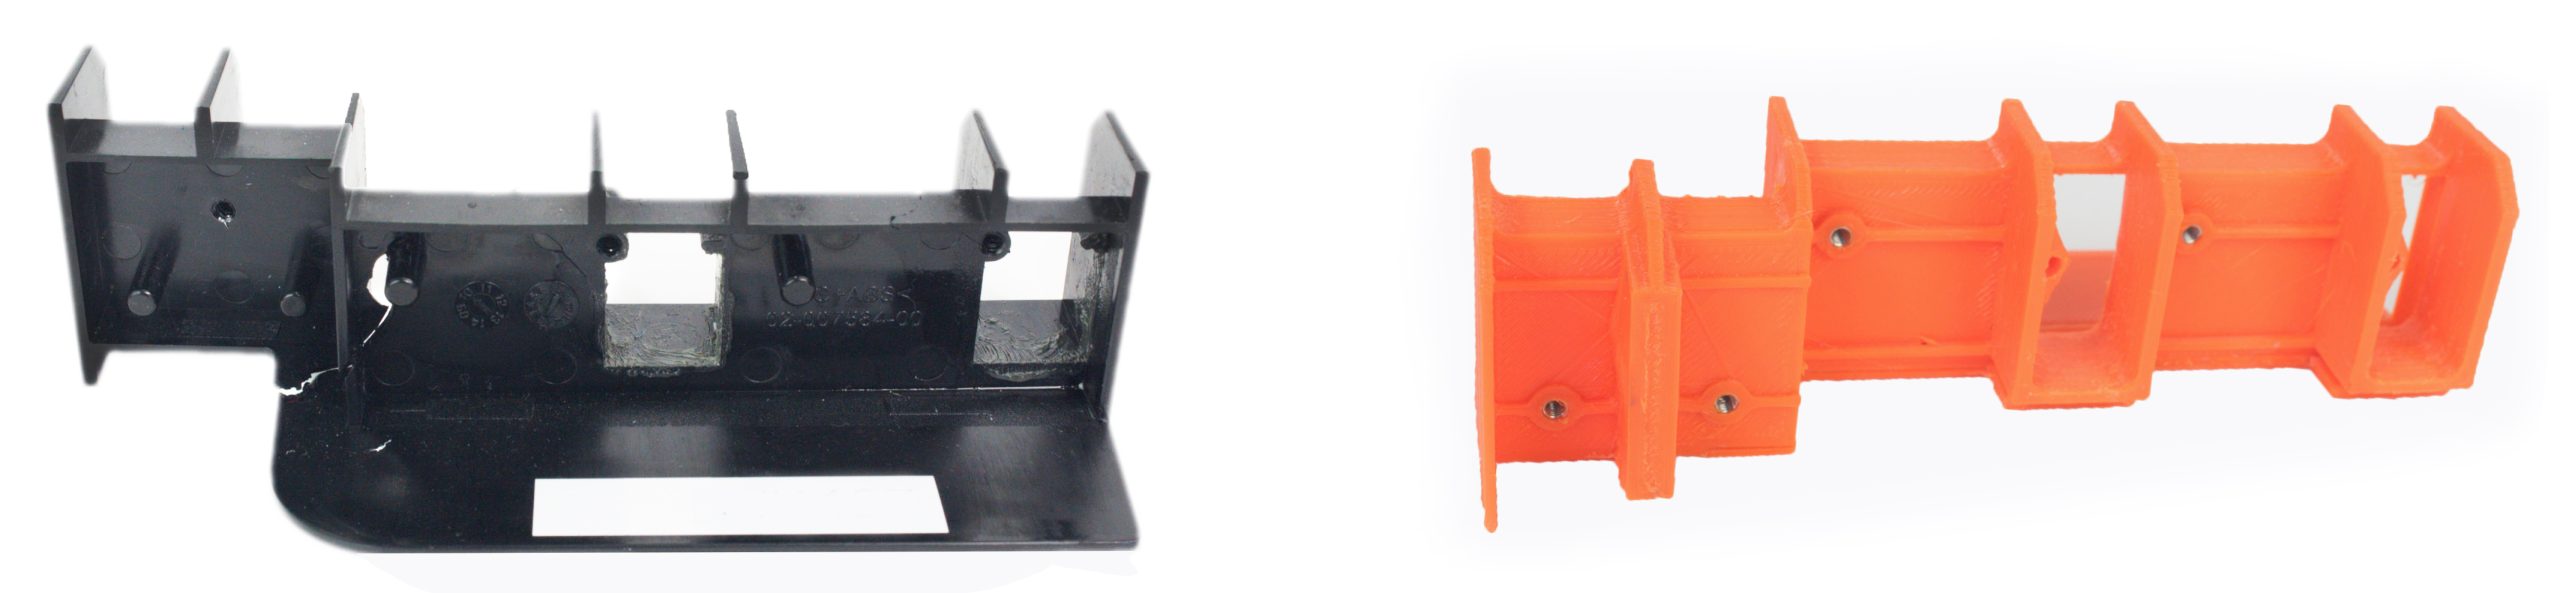
This yearly maintenance procedure takes a toll on these two ABS plastic insulator blocks, which are also aging and becoming brittle. The constant torque applied when the disconnect/reconnect procedure is applied results in stress cracking, and eventual crumbling with age.
PEM Motor Block Upgrade and Replacement
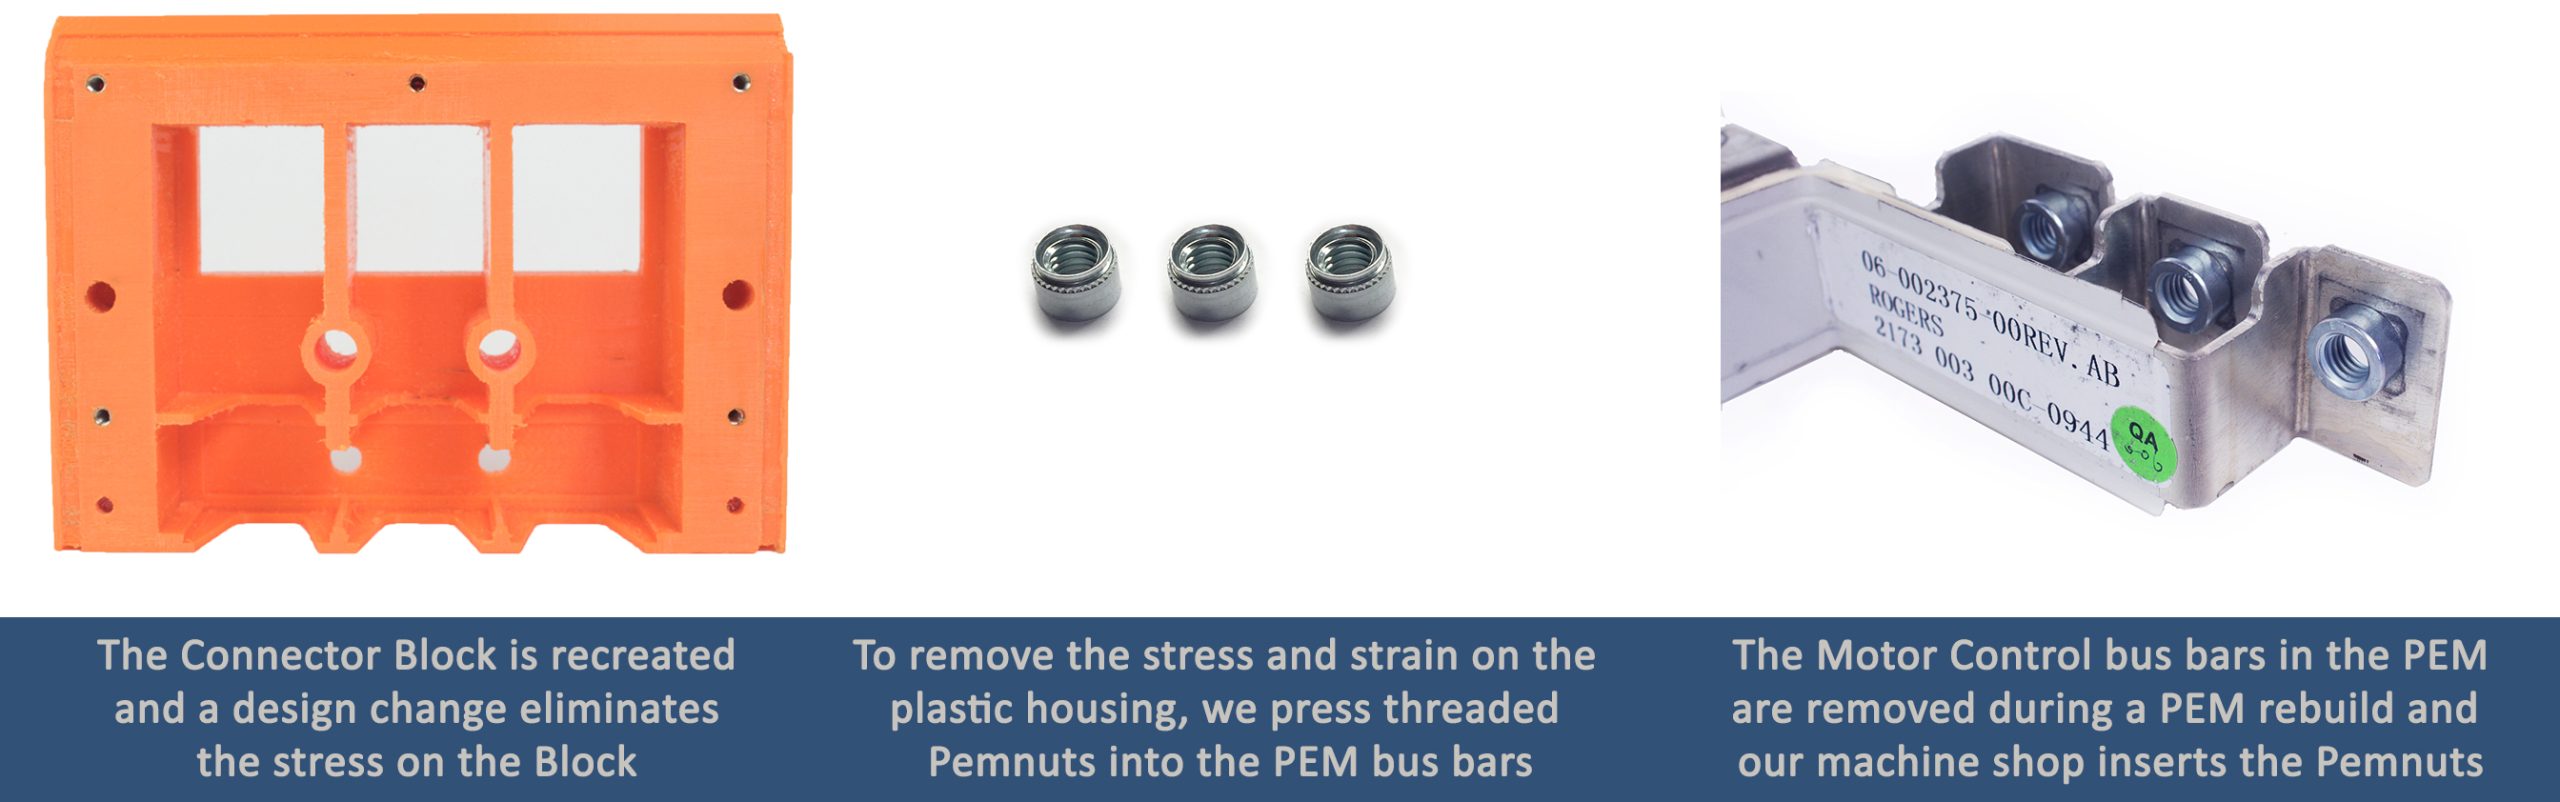
Since these parts are no longer in production, and injection molds are long gone, the most cost effective solution is a 3D print method to replicate these parts, improving the design to accommodate the yearly PEM maintenance disconnect/reconnect procedure by modifying the bus bar mounting method.
DC Input Block Deterioration
The same problem often occurs with the DC Input Insulating Block in the PEM. This cracked and deteriorating assembly is also recreated and improved with 3D printing, and inserted brass bushings for the mounting screws, rather than the old method of screws inserted into plastic. Like the PEM Motor Block, this assembly is part of the yearly PEM maintenance.
This fix also eliminates a safety problem. Degraded and broken DC Input Insulating Blocks can fail to insulate once compromised, and place 400 VDC connection to chassis ground.
GPS Firmware Corruption
 Since the summer of 2019, the Garmin GPS firmware has had a week number overflow bug that causes the GPS to roll back to the year 2000. Although this does not affect overall vehicle functionality, it does cause the timestamps in the log files and battery health logs to be recorded incorrectly leading to difficulty diagnosing faults.
Access to accurate log file information continuously being recorded in a Roadster is crucial in isolating faults, and establishing timelines for errors. It can also be useful in determining patterns and trend analysis for ESS Battery Pack condition and degradation.
For Roadsters in our Service Center, we use custom cables that we developed, and are able to reprogram and update the Garmin firmware to resolve this firmware bug.
For remote vehicles, we suggest sending us the GPS module located under the driver’s side headlight and we can update the firmware in our lab. The Roadster will function without this module, but it may affect any scheduled charging you have setup on your Roadster.
VMS Flash Chip Failure
![]() The Roadster identity and battery metrics are stored in the file system on the VMS (Vehicle Management System).
The Roadster identity and battery metrics are stored in the file system on the VMS (Vehicle Management System).
During service, or failures and power losses in the Roadster, we are seeing an uptick in VMS firmware corruption on 2.x Roadsters (Any Roadster built in or after 2010). The symptom is the VMS will report a mismatch in the firmware version of a module, which typically happens with the VMS firmware. We are currently working with Tesla firmware engineers to identify the cause and will announce a solution soon.
Like on the Tegra board in the MCU (Media Control Unit) in the Model S/X, the Roadster has a NAND flash chip that resides on the VMS board. This NAND chip is one of the suspects because, like any flash chip, is subject to deterioration from read/write cycles.
A standard practice in our Service Center is a complete firmware backup before we start any service activity. This data is backed up and available in the event of data corruption or chip failure during a service event.