
Where is this battery?
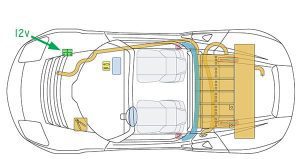
If you have a 2010 to 2012 2.X Tesla Roadster, you have a 12 Volt battery buried under the front passenger wheel well, that needs to be replaced periodically.
The 2008 1.5 series Roadsters did not have this battery, borrowing power from two of the sheets in the ESS pack to supply 12 Volts.
Tesla realized early on this was not a good idea, since it made these sheets work much harder than the rest, and created premature ESS Battery Pack failure. The solution was adding a motorcycle battery wherever they could find some space, which ended up being under the front passenger headlight.
These little 8 Amp Hour sealed motorcycle batteries last maybe two years, and when they predictably fail, require a fair share of disassembly. If you are not a DIY, an average Service Center visit will cost around $300 – $400 to have this battery replaced.
Where should this battery be?
A more sensible mounting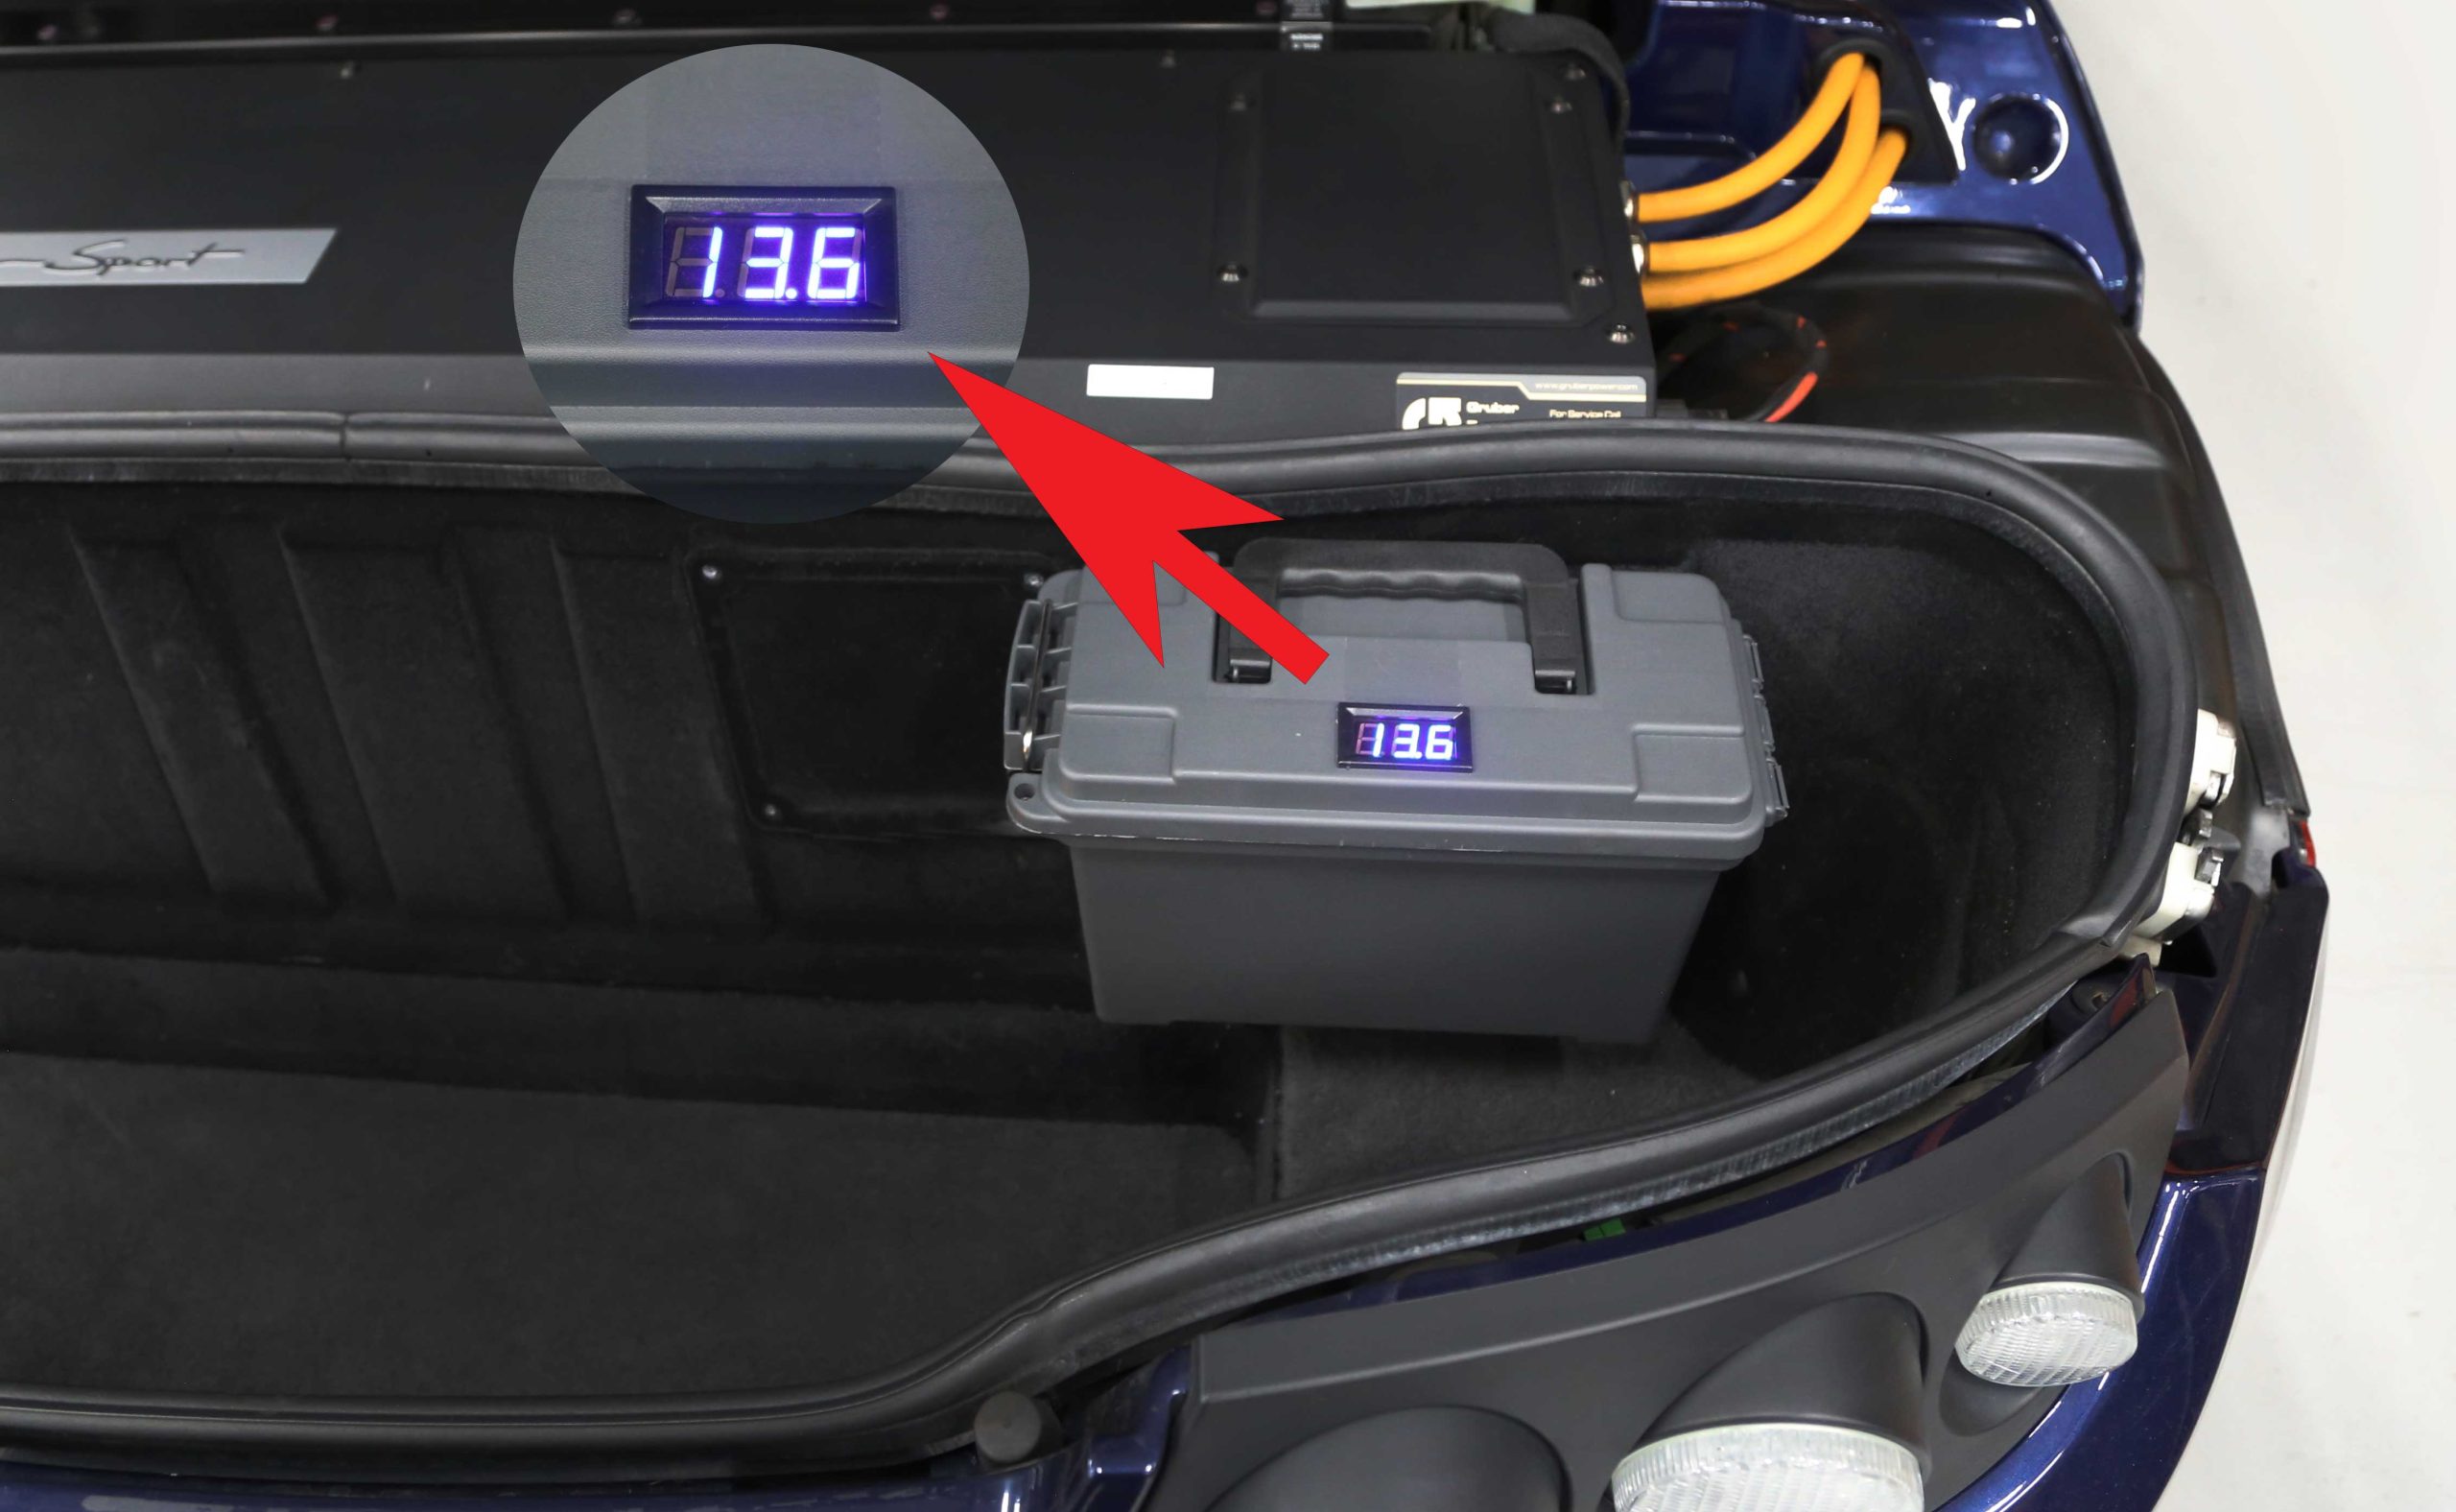 location for a battery that needs to be periodically replaced is the trunk.
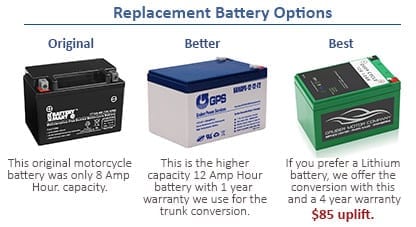
Our relocation kit includes a battery storage box, accessible by opening the trunk, and unlatching a cover.
A voltmeter displays the current battery voltage, with a good battery reporting around 13.3 VDC to 13.6 VDC. When the voltage drops below this level, or the car begins reporting “AUX Battery Error”, it is time to change this battery.
Replacement becomes a simple DIY effort, less than 5 minutes, and consists of merely removing two fast-on tabs, or screw on terminals.
The old way of changing this battery
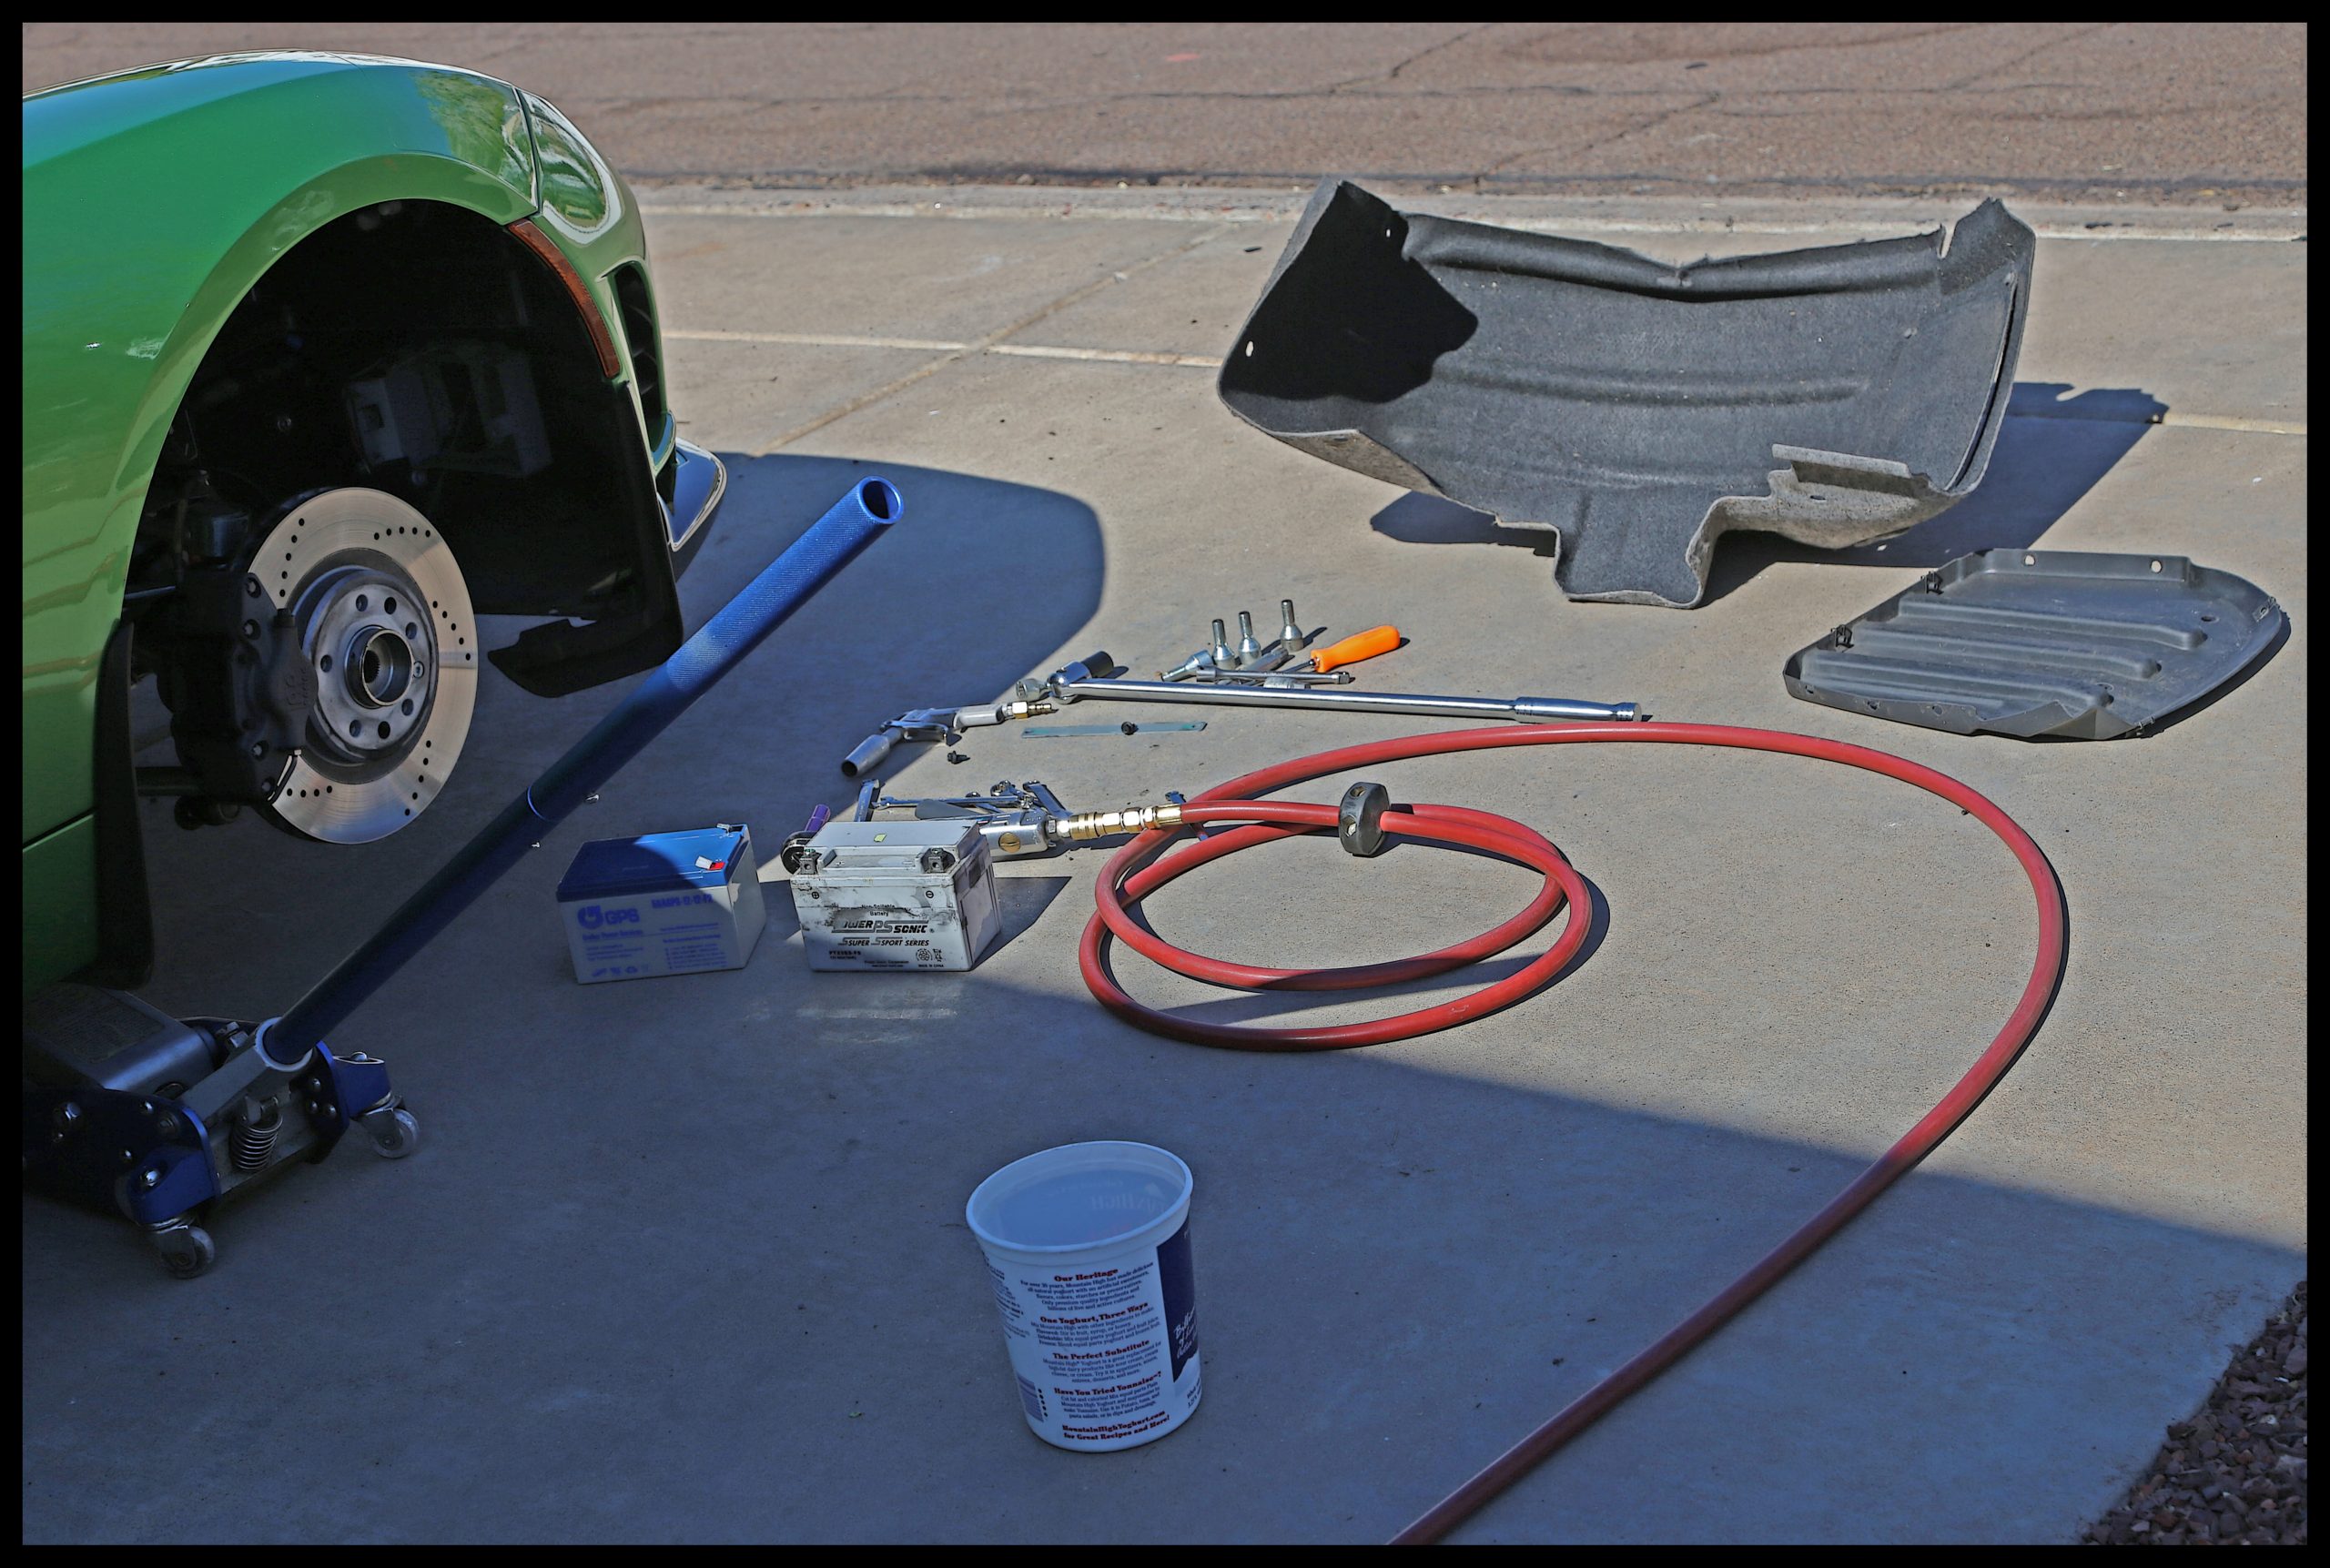
For those brave enough to tackle this project, which has to be done every two years or so, a jack is required.
The wheel then has to be removed. Remember to use your locking key since one of the lug nuts is a security keyed version.
Armed with a 10mm wrench and socket, you then remove the wheel well fender skirt. There is some more disassembly required to remove the access panel.
Be careful. These bolts have seen a lot of weather, are rusted, and some liberal WD40 application helps avoid snapping bolts and nuts.
The old battery can now be removed from a mounting cradle, and a fresh battery installed.
How to get this done
We do the conversion – $923
If your Roadster is in our Phoenix Service Center, many of our customers just elect to have us do this trunk relocation.
You buy our kit and DIY – $248
We will supply you all the parts including replacement battery, instructions, and tech support for a DIY effort. This Roadster conversion ends your reliance on a biyearly Service Center visit for your 12 volt battery swap. Essentially, you pay the equivalent amount one more time, and reduce future replacement costs to $45.